BellaGrey Designs: holidays
holidays

I get really excited this time of year to wrap all the gifts I purchased for my family and friends. I like to take the time to make each gift look special and pretty. 


My love for a beautifully wrapped gift started with my first job in high school. I worked for a high end department store in Denver, in their gift wrap center. I learned the very essence of gift wrapping, with embellishments, different textures and of course, how to make the edges of the gift crisp. 


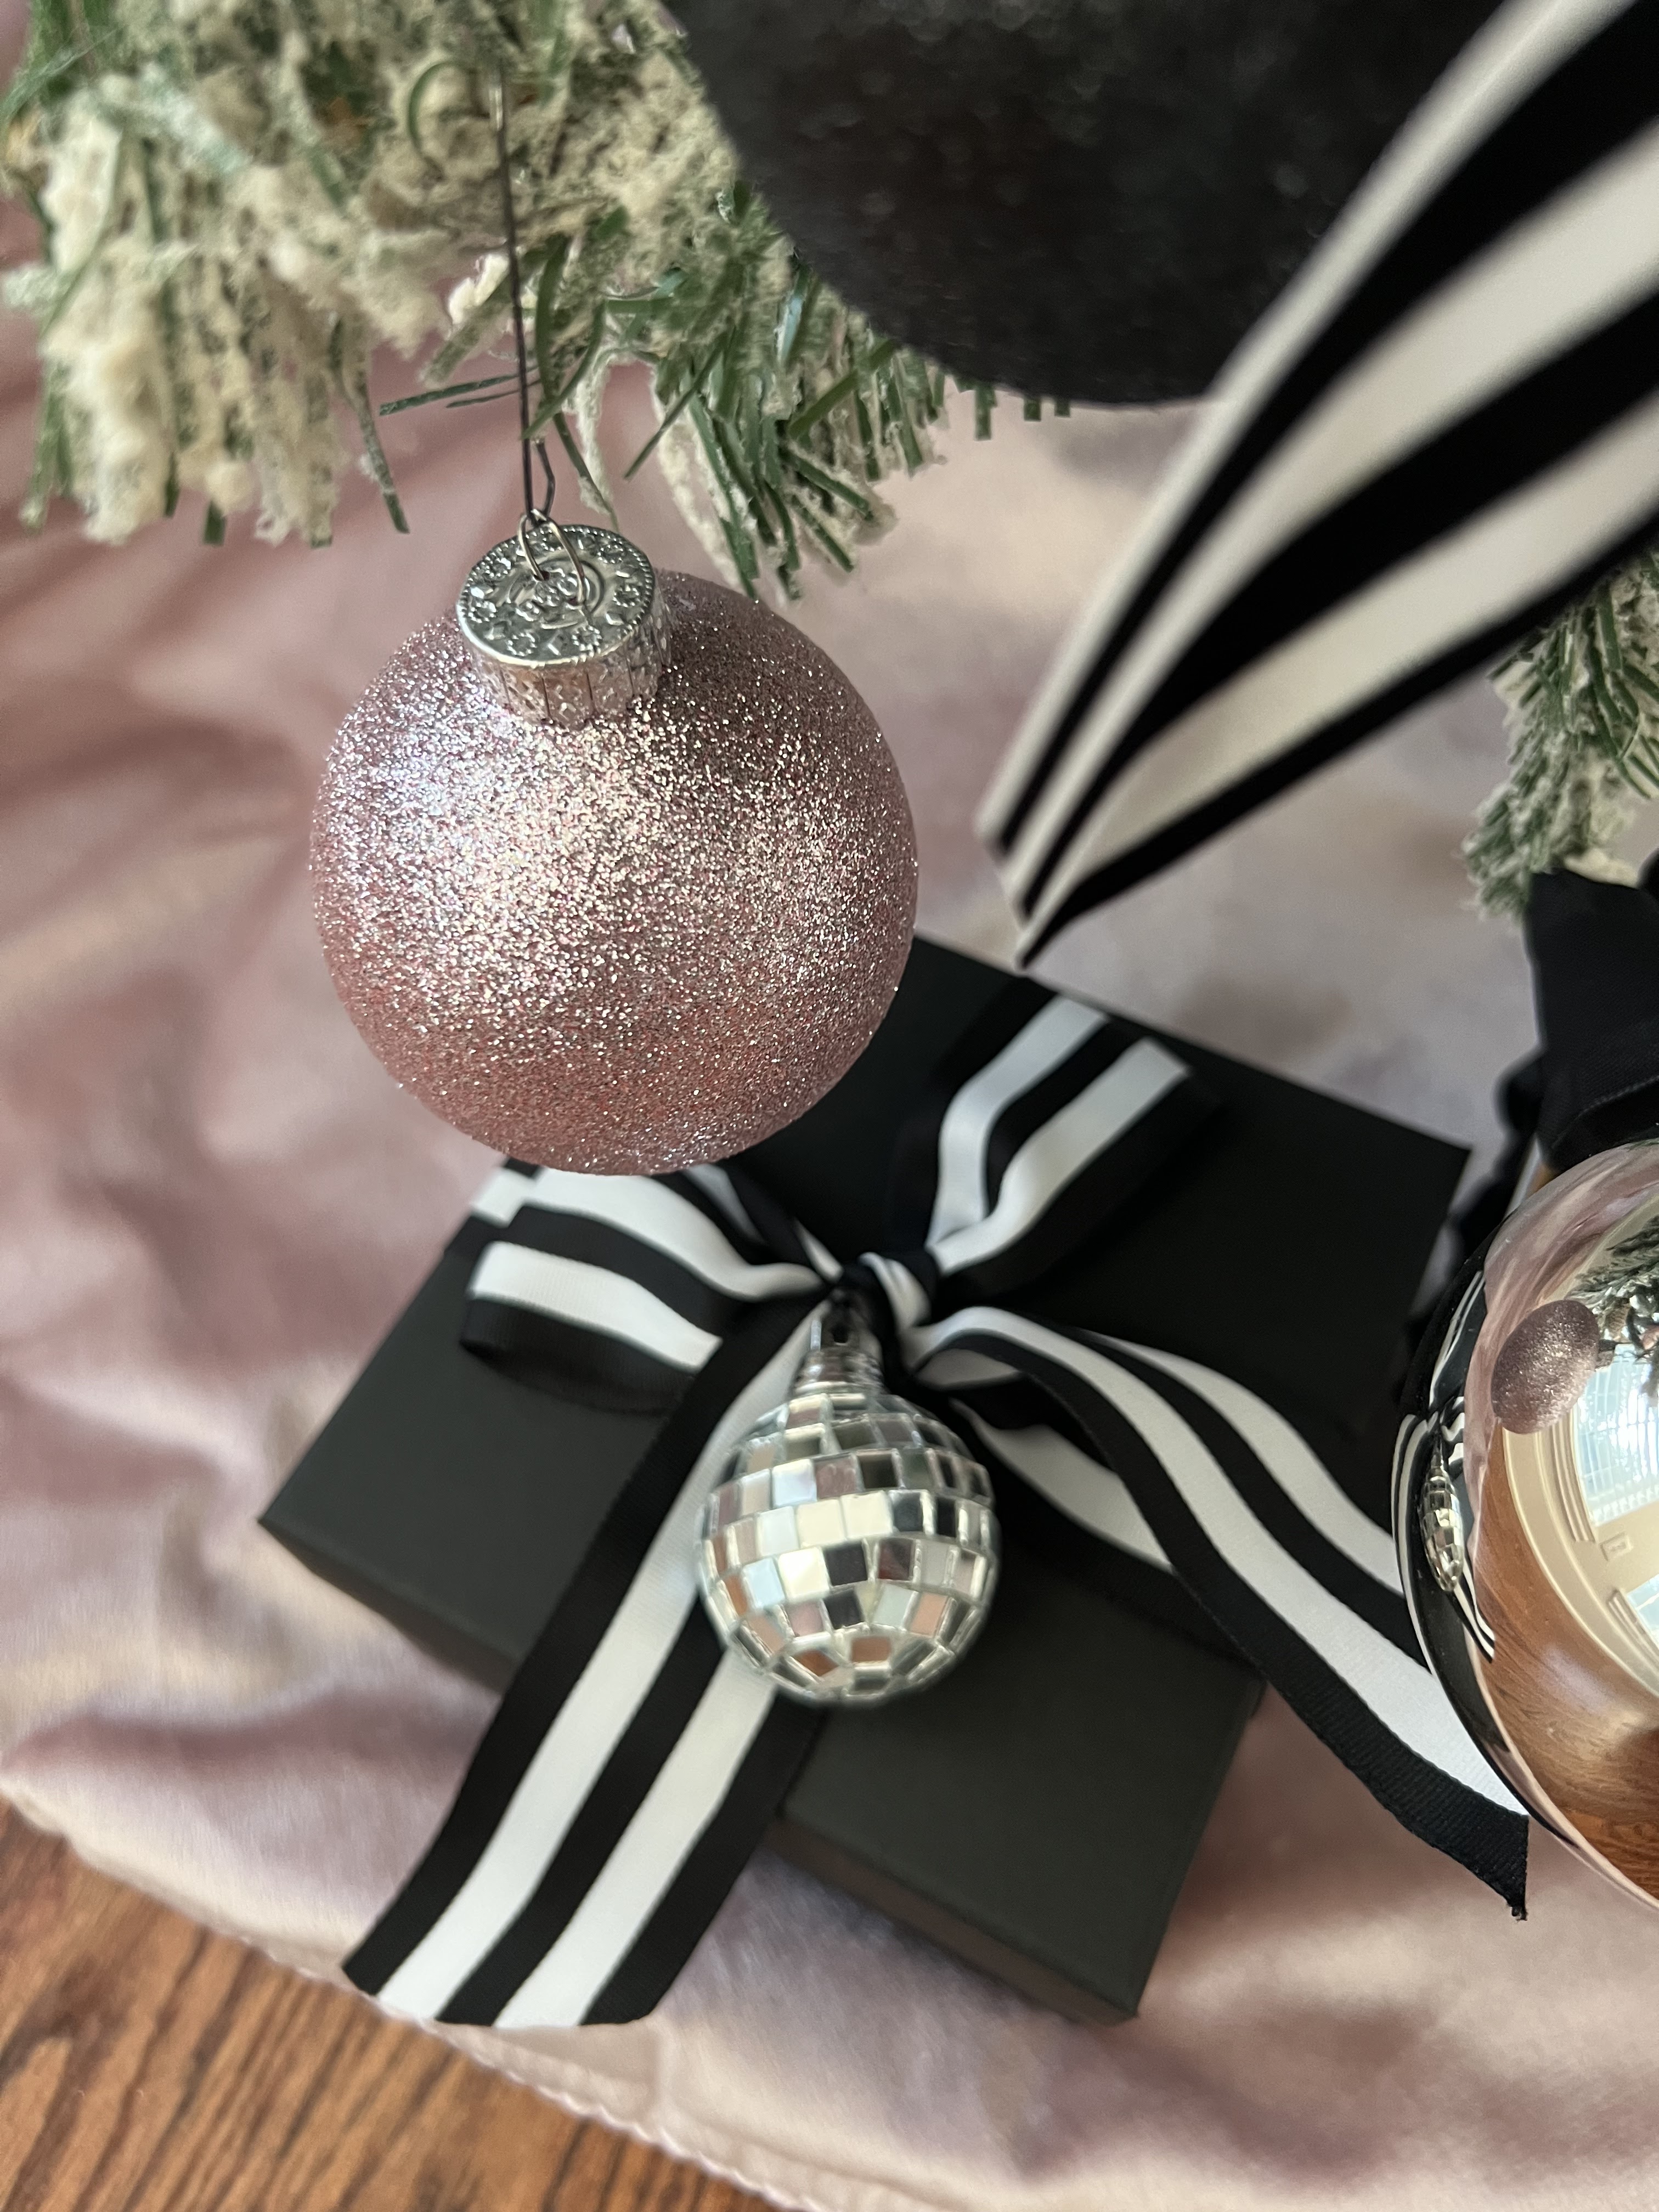
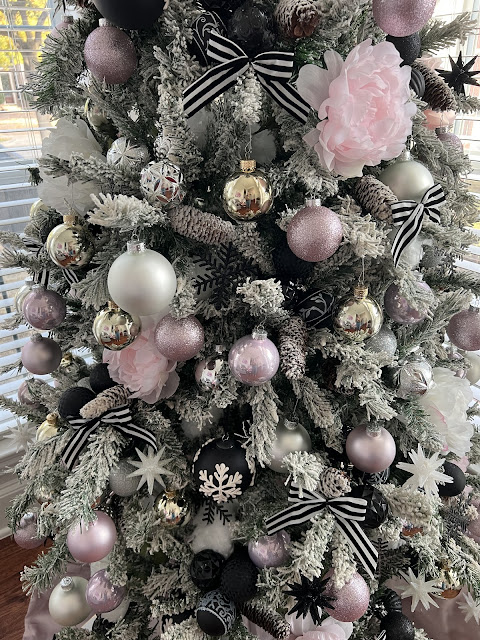
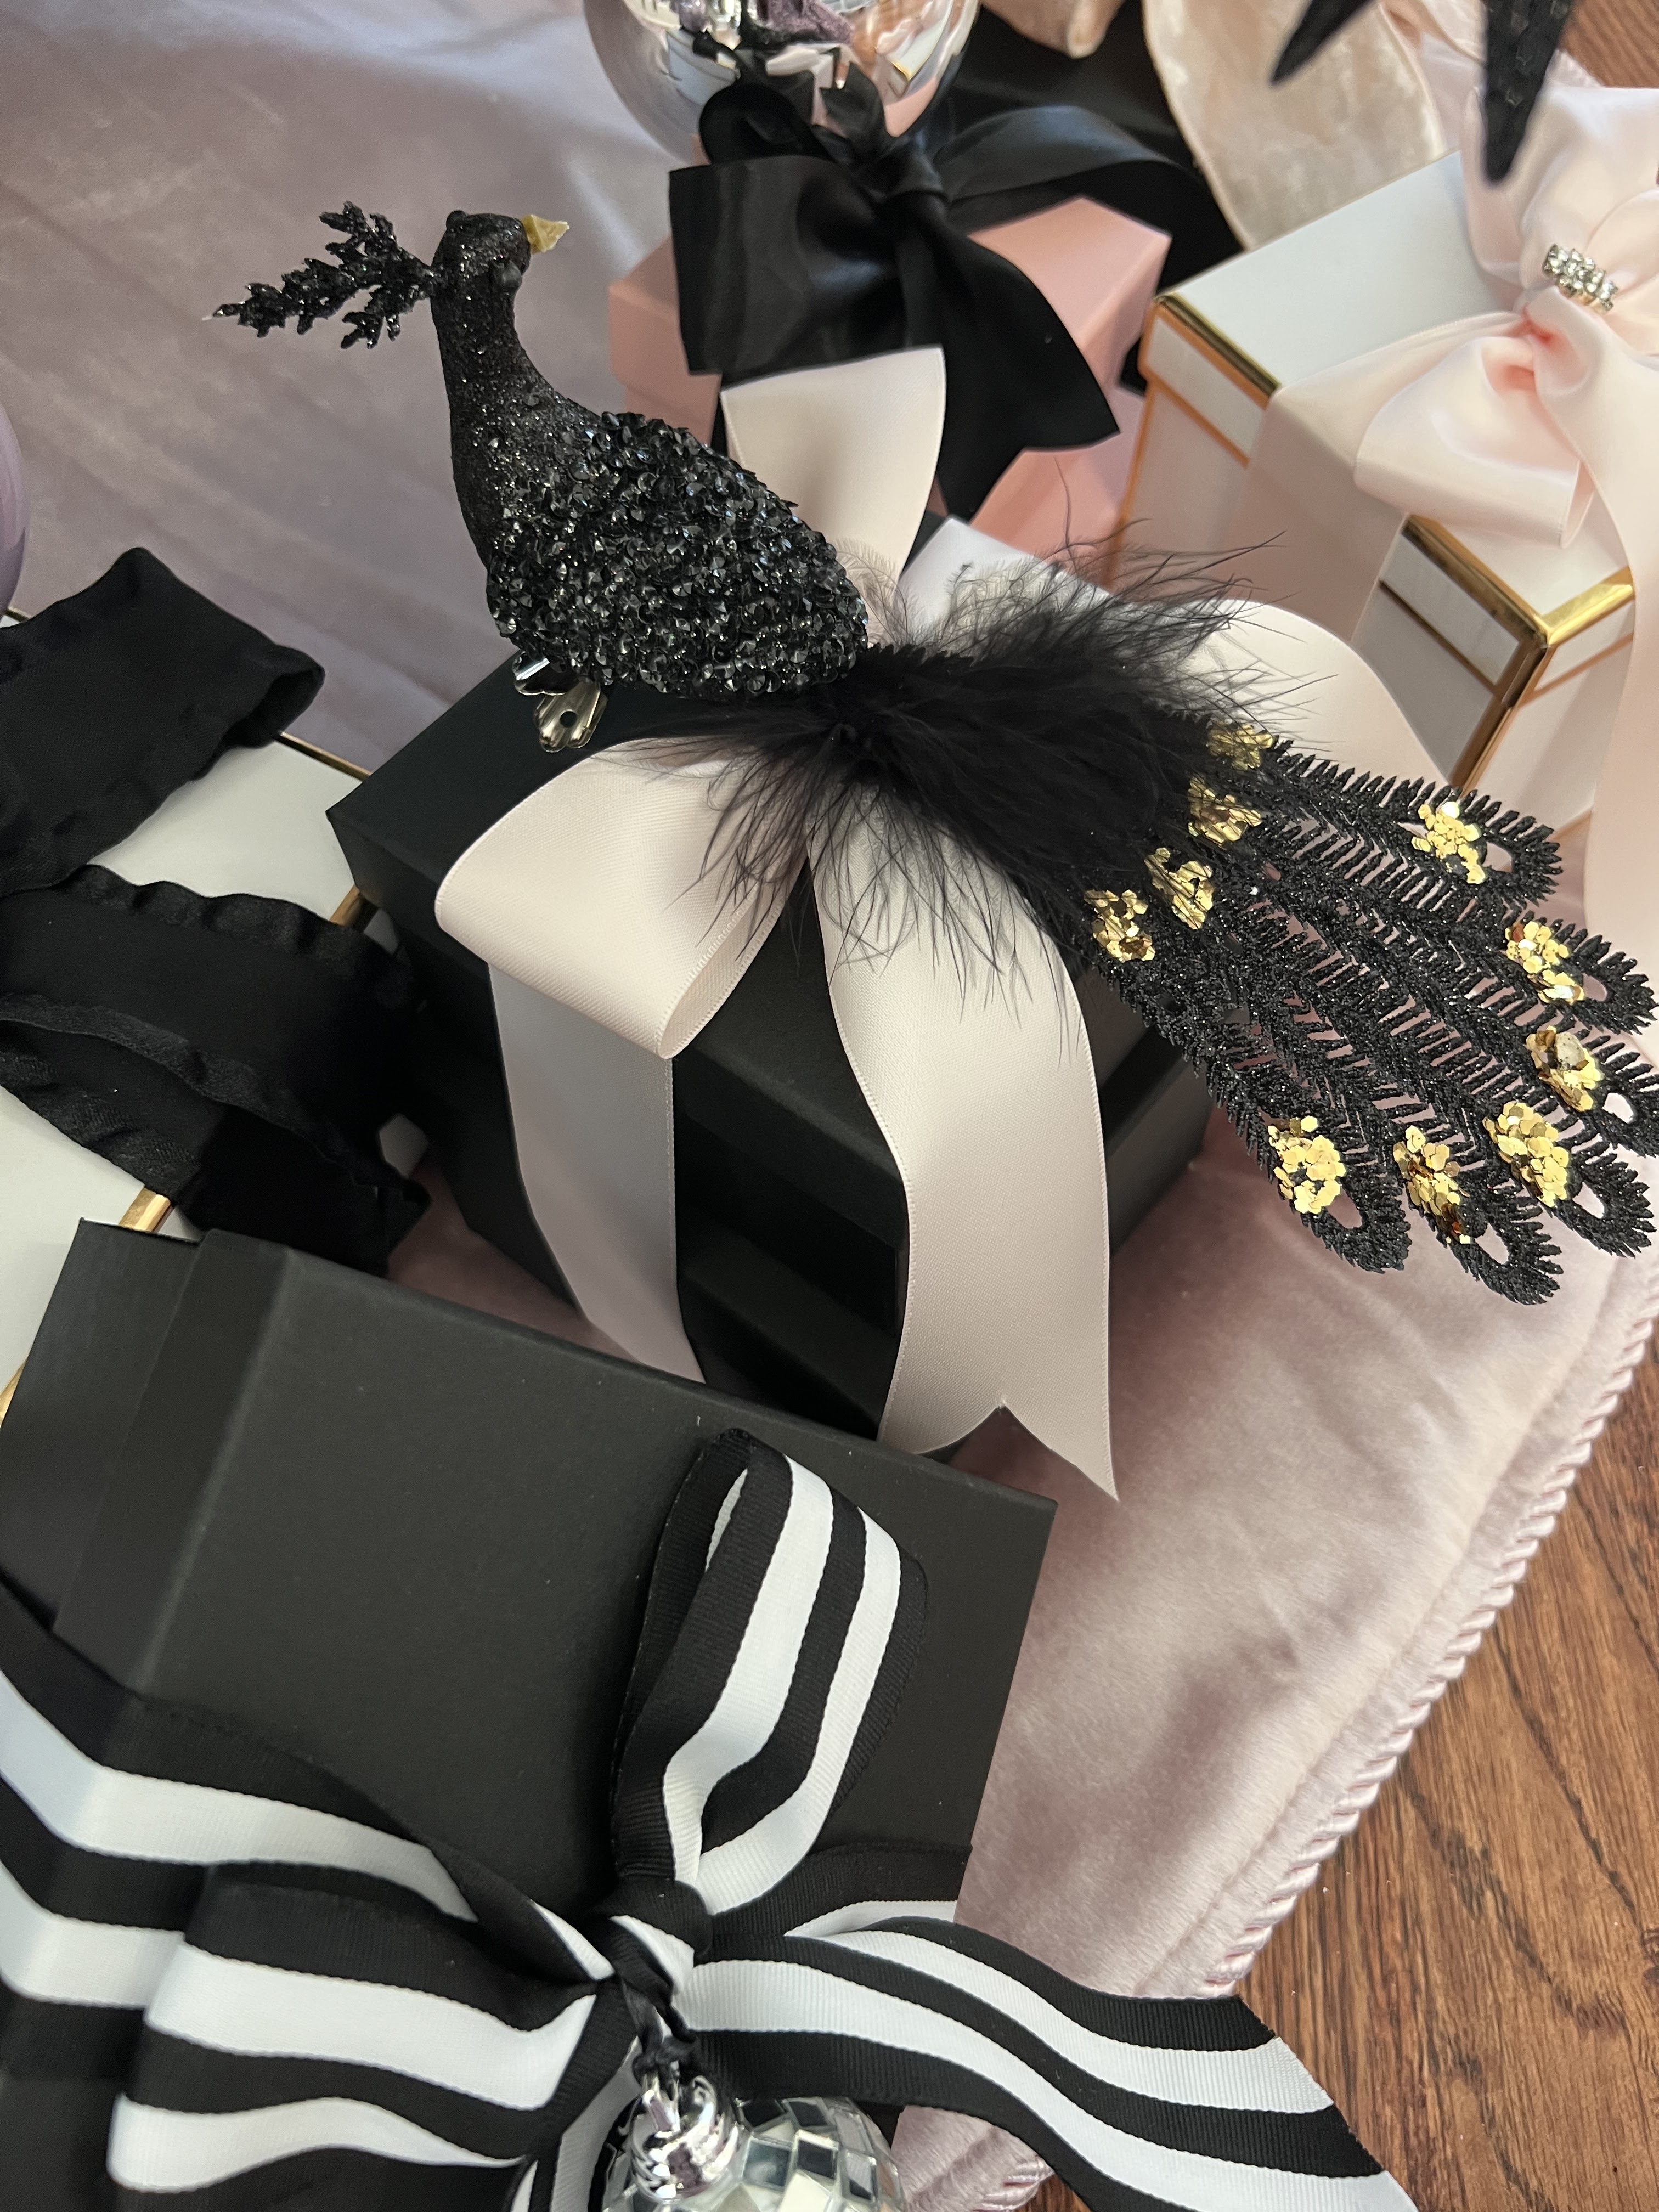
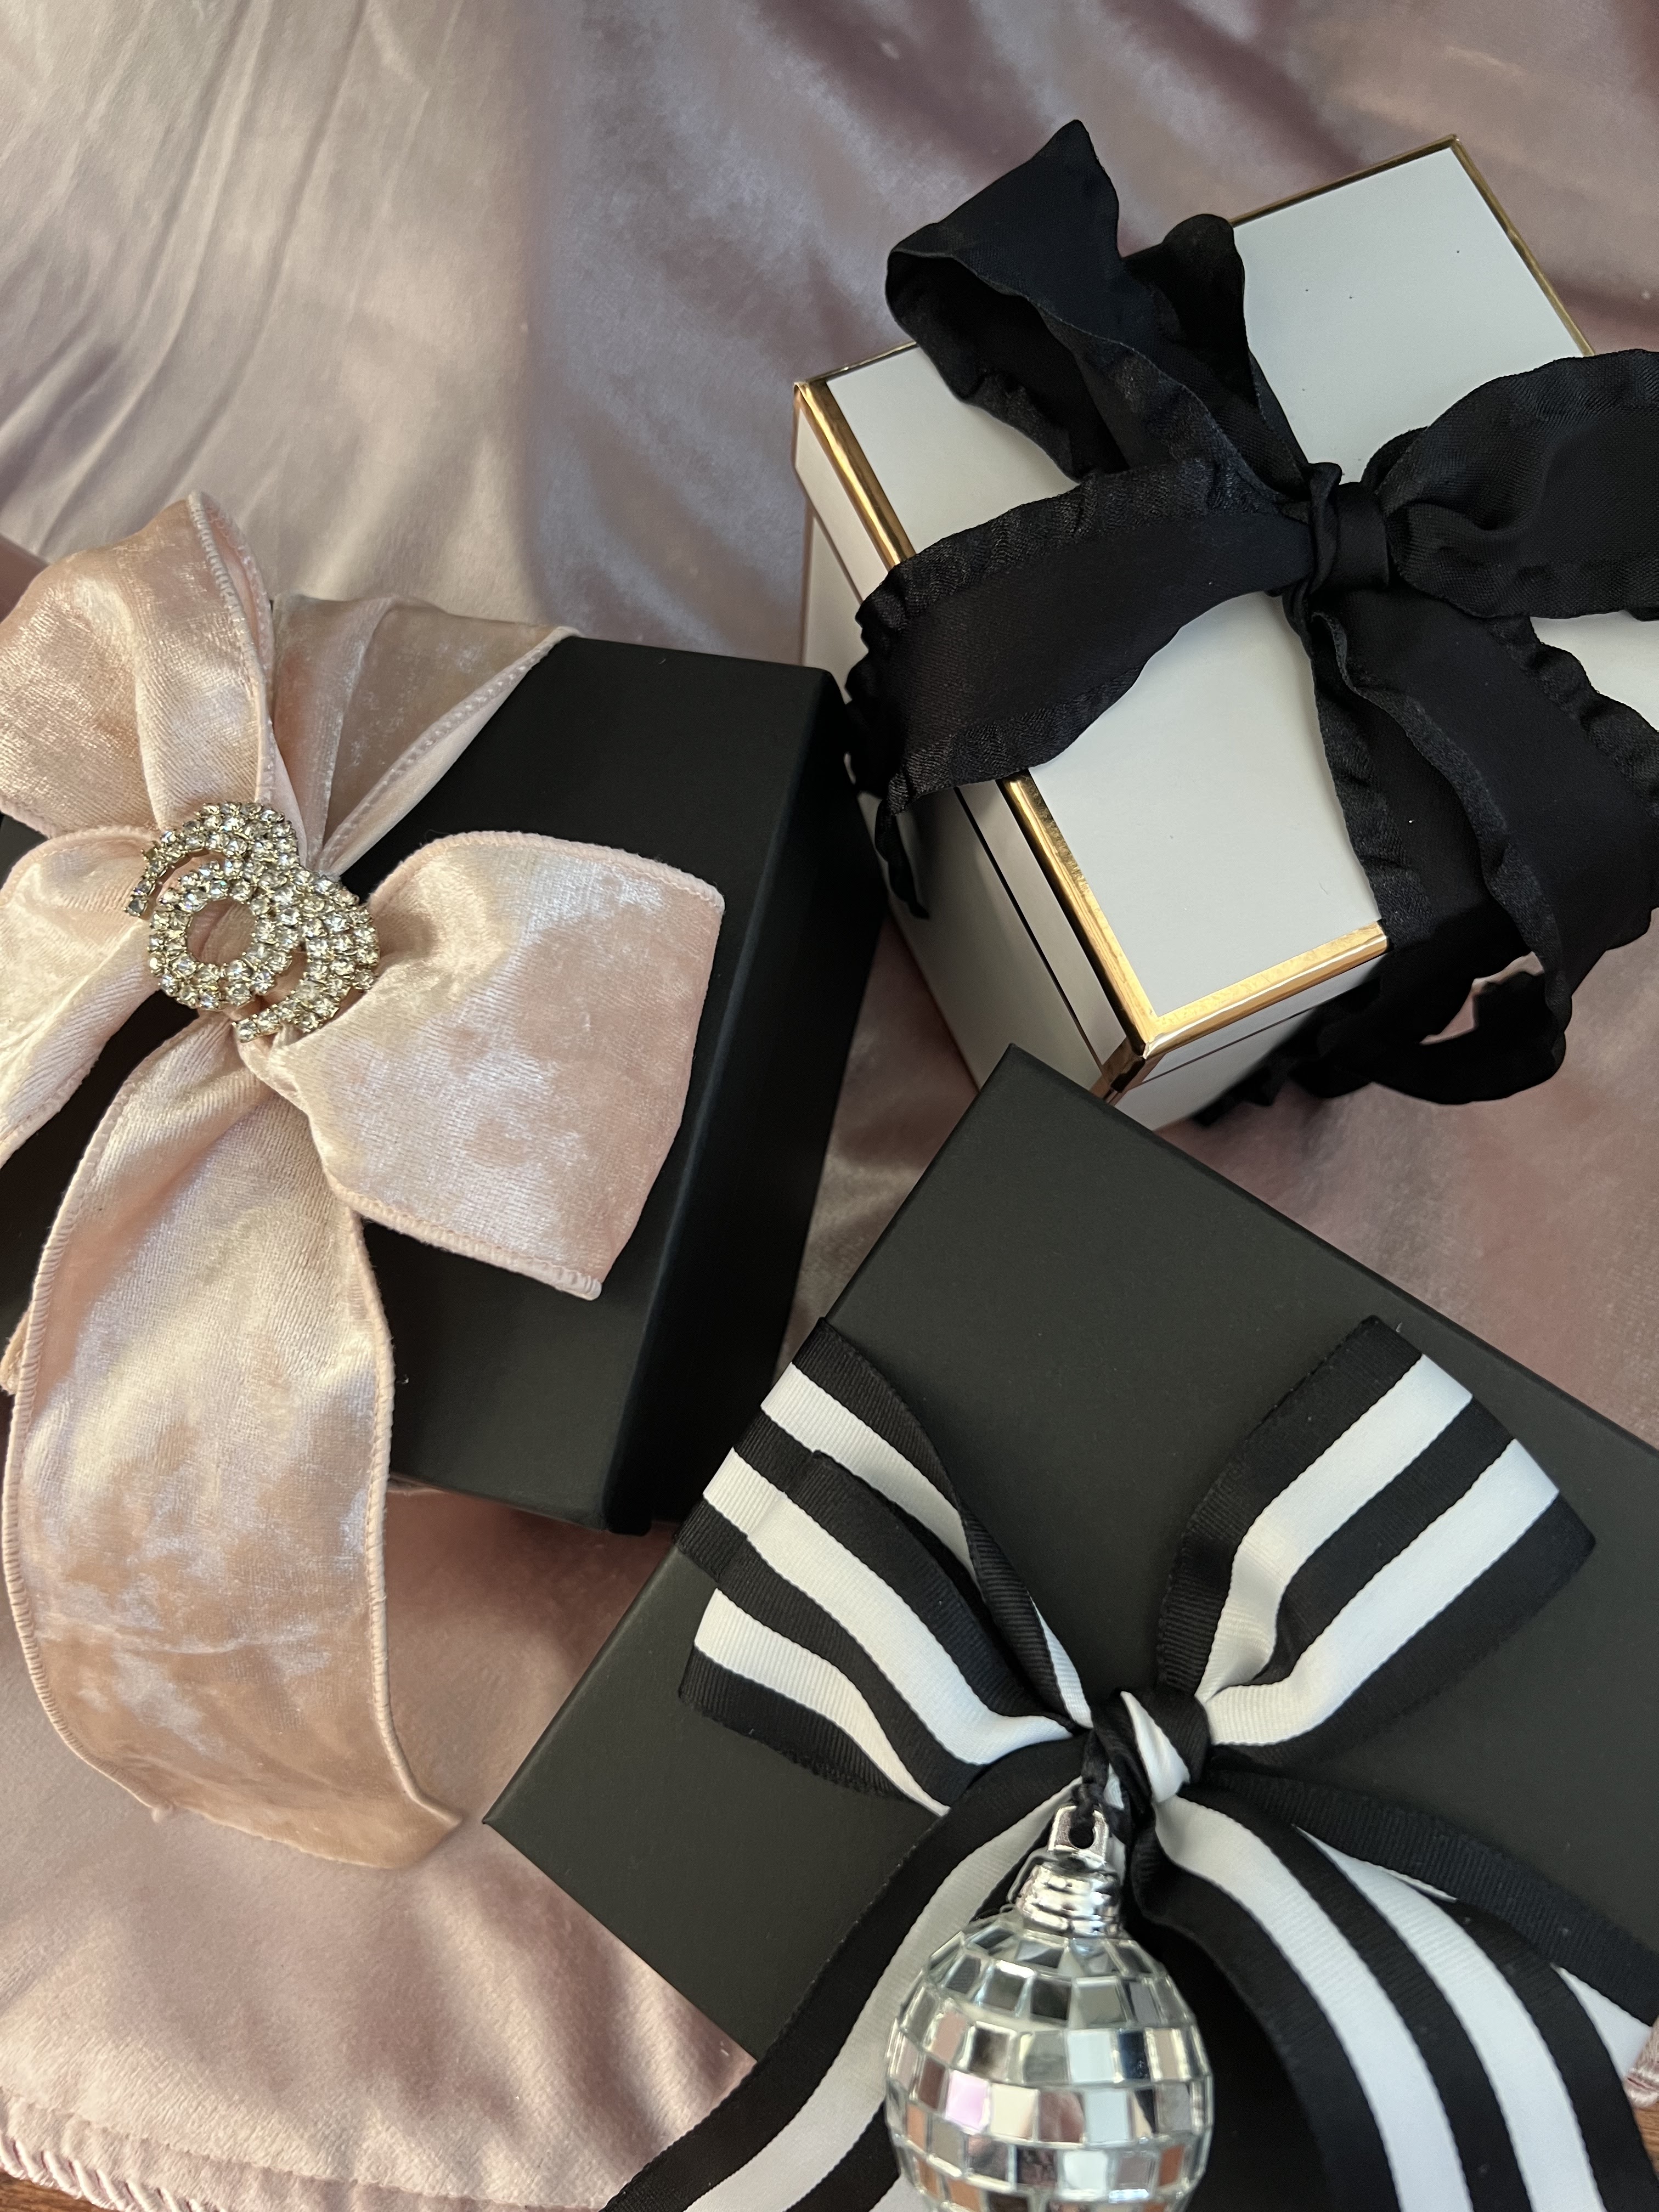
As I’ve grown older, my fondness of gift wrapping has evolved. Black paper is one of my favorites as it is both, powerful and chic. The unexpected elements, such as vintage brooches, flowers, crystals, feathers and pearls, is what sets my gifts apart from any others. This year I went with a more glamorous Christmas theme, so I designed my gift wrapping accordingly. 
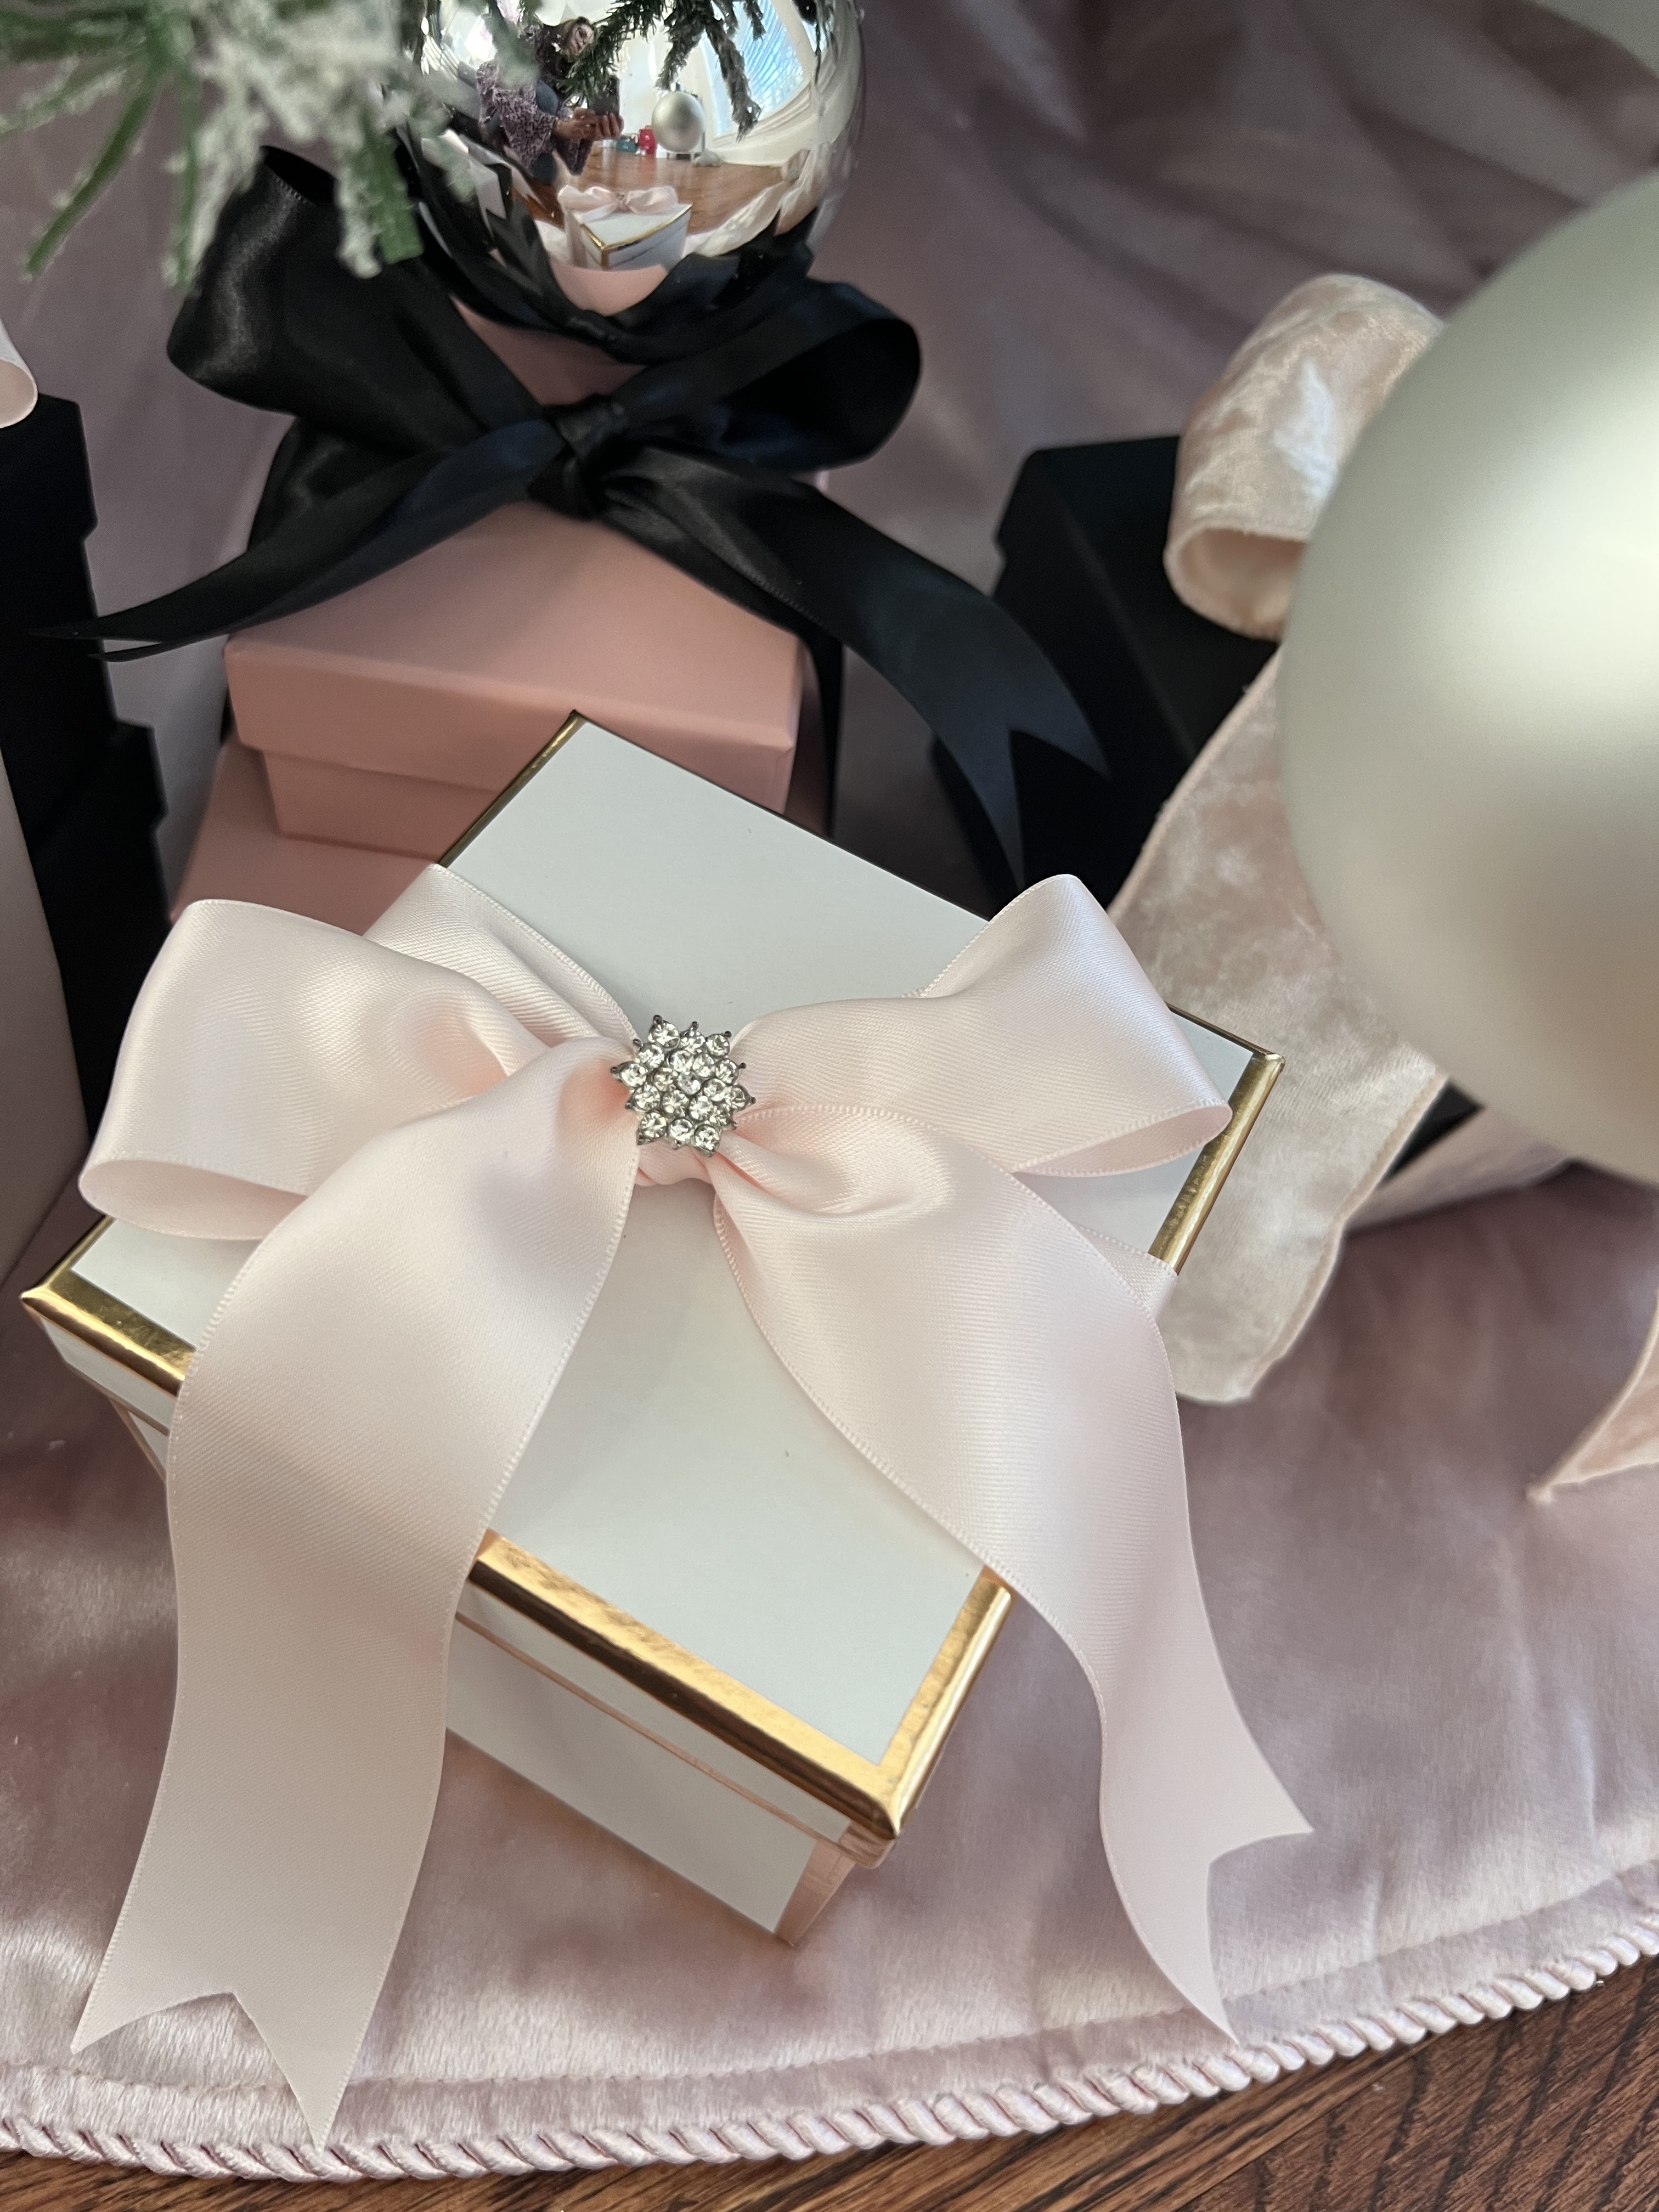


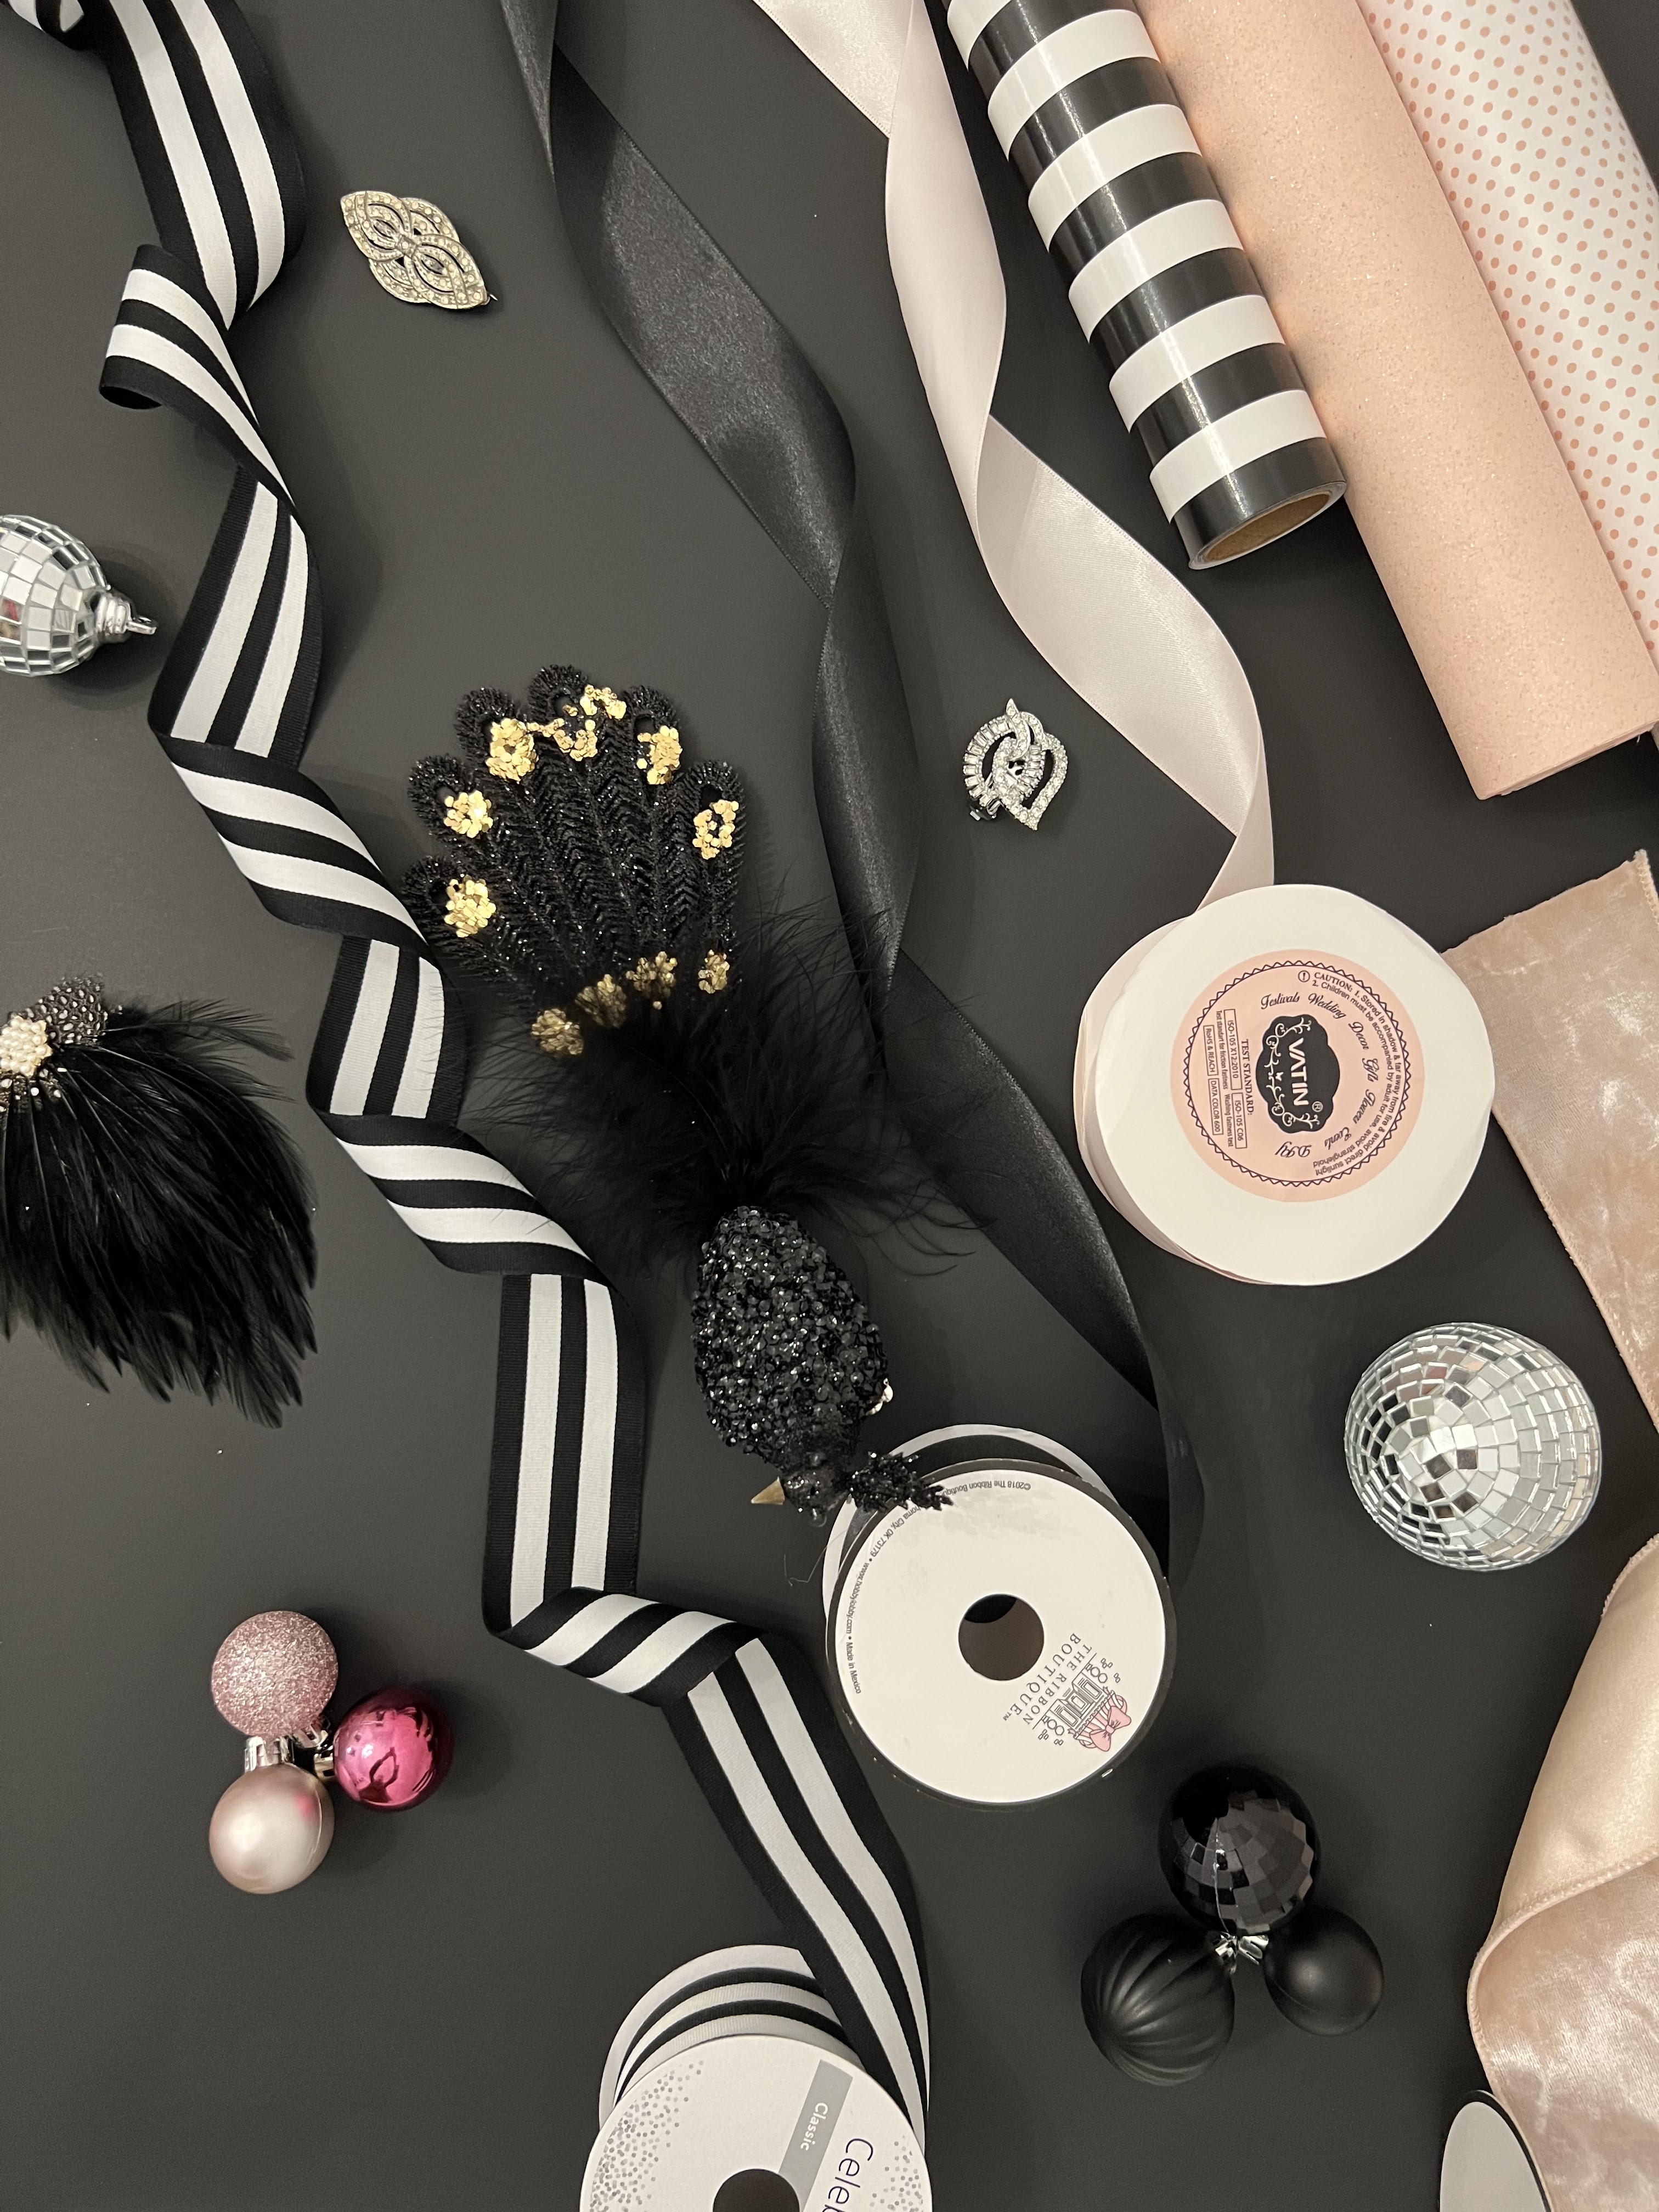
To create these beautifully wrapped gifts, I start with a few essentials. I choose my colors and purchase the wrapping paper {black, white with blush polka dots, a glitter blush and a black striped}; and ribbon - satin, velvet and striped in a variety of widths, textures and colors to match my theme; a selection of baubles, brooches, ornaments, flowers and any other decorations I can find to add to my gifts. 


 I always "shop" my house to see what I already have on hand before going shopping - this saves on time and money which is a BONUS in my book. I lay all of the elements out so I know what I have to work with. I shop all year for paper and ribbon {I may or may not have a slight obsession} so by the time Christmas comes, I usually have a variety to choose from. 


Once the gifts 
have been wrapped, you can mix and match ribbons and embellishments. This is the fun part, you can make it as fancy as you'd like or as simple, it's totally up to you, and what's even better? There is no right way or wrong way. I typically like a very simple bow so the decorative elements I choose, really stand out and sometimes a simple bow is all that is needed depending upon the paper you choose. 


Another option, if you are short on time, but still want a beautifully wrapped gift, is using the charming gift boxes in place of wrapping paper which still pairs well with your favorite ribbon and baubles. I used several black and blush pink stacking boxes, as well as white and gold ones under my tree, and I have to say I love the look of both the wrapped boxes as well as the colored gift boxes. 


I'm all about the presentation, it's nice to put the extra love and attention into something you are giving to a loved one or friend. A few years ago my mom gave me all of my grandmother's brooches, which I have used on a several of the gifts I given. 


I hope you have liked this post and will try embellishing your gifts in the future. 

Have a great Christmas season. 
  • Friday, December 09, 2022

DIY Glamorous Christmas Gifts


I get really excited this time of year to wrap all the gifts I purchased for my family and friends. I like to take the time to make each gift look special and pretty. 


My love for a beautifully wrapped gift started with my first job in high school. I worked for a high end department store in Denver, in their gift wrap center. I learned the very essence of gift wrapping, with embellishments, different textures and of course, how to make the edges of the gift crisp. 


As I’ve grown older, my fondness of gift wrapping has evolved. Black paper is one of my favorites as it is both, powerful and chic. The unexpected elements, such as vintage brooches, flowers, crystals, feathers and pearls, is what sets my gifts apart from any others. This year I went with a more glamorous Christmas theme, so I designed my gift wrapping accordingly. 


To create these beautifully wrapped gifts, I start with a few essentials. I choose my colors and purchase the wrapping paper {black, white with blush polka dots, a glitter blush and a black striped}; and ribbon - satin, velvet and striped in a variety of widths, textures and colors to match my theme; a selection of baubles, brooches, ornaments, flowers and any other decorations I can find to add to my gifts. 


 I always "shop" my house to see what I already have on hand before going shopping - this saves on time and money which is a BONUS in my book. I lay all of the elements out so I know what I have to work with. I shop all year for paper and ribbon {I may or may not have a slight obsession} so by the time Christmas comes, I usually have a variety to choose from. 
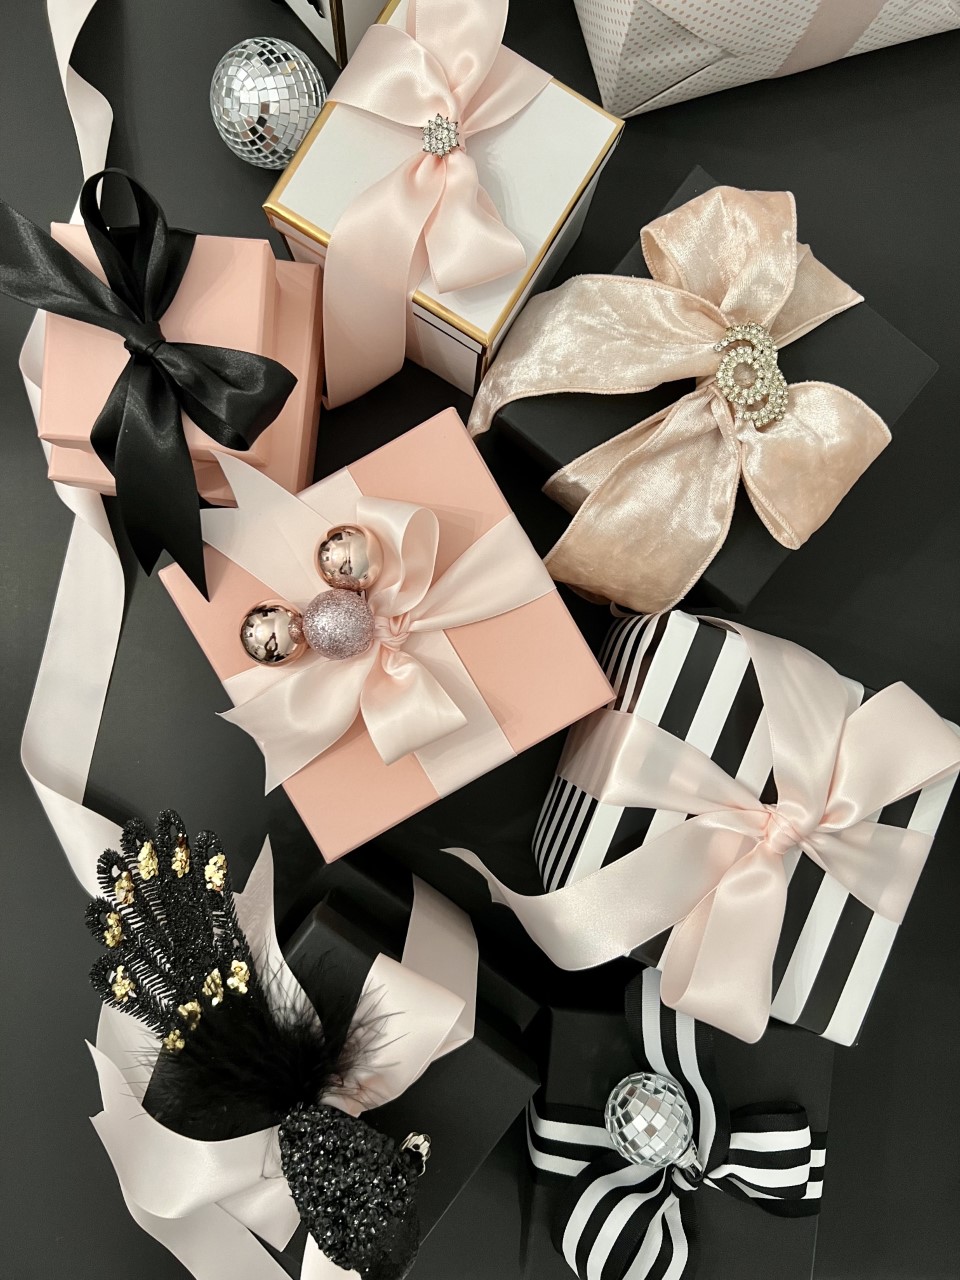


Once the gifts 
have been wrapped, you can mix and match ribbons and embellishments. This is the fun part, you can make it as fancy as you'd like or as simple, it's totally up to you, and what's even better? There is no right way or wrong way. I typically like a very simple bow so the decorative elements I choose, really stand out and sometimes a simple bow is all that is needed depending upon the paper you choose. 


Another option, if you are short on time, but still want a beautifully wrapped gift, is using the charming gift boxes in place of wrapping paper which still pairs well with your favorite ribbon and baubles. I used several black and blush pink stacking boxes, as well as white and gold ones under my tree, and I have to say I love the look of both the wrapped boxes as well as the colored gift boxes. 


I'm all about the presentation, it's nice to put the extra love and attention into something you are giving to a loved one or friend. A few years ago my mom gave me all of my grandmother's brooches, which I have used on a several of the gifts I given. 


I hope you have liked this post and will try embellishing your gifts in the future. 

Have a great Christmas season. 
Drop in for a spell.........I concocted this fun Witchin' Good Time Halloween Party with the help of, Oriental Trading.  Halloween may traditionally be all about black and orange, but this year I added a fun twist and threw in turquoise! The spider web covered dessert table is frightening fun and oozing with some witchin' good inspiration! 


All to often Halloween is decorated with scary elements, but for this Witchin' party, I wanted to make it fun and kid friendly. My family loves celebrating Halloween but not necessarily in a scary way! 

Here's how to make your party a success. I always like to start with the design of the invitation and work off that as I create and style the party. Ask your guests to dress up in the theme, this helps them really get into the fun of the party. If you host a witches party, this costume is pretty easy to throw together! All you need is a witches hat, a black dress and some fun shoes. 


One of my favorite details is the ribbon cake I made with beautiful black ribbon. If you are interested, I will create a tutorial so you can make your own. I first introduced it to you here


FUN TIPS FOR YOUR WITCH' GOOD TIME PARTY:
  • Shop your home, your friend's and relatives! You will be surprised at what you can find. Almost everything shown is what I had on hand, I borrowed or made. 
  • The witch with cauldron set the tone for my backdrop and I love it! It is incredibly visual and striking!
  • I used the Halloween Silhouette decor kit and embellished my backdrop wall. 
  • I wanted to add some color to the top of the backdrop, which I did when I hung the colored paper lanterns
  • The fun black fringe gave it a spooky feel. 
  • You know how much I LOVE my Cricut! I used my Cricut Explore Air 2 to cut out "Drop in for a spell" and used the same colored paper to cut out flames for the cauldron.
  • Adding decor to match your theme is very important, it ties everything together. The black and turquoise pumpkins are perfect for this party! 
  • You can't have a witches party without a spell book! You can find the tutorial here + FREE printable!  

Are you ready for Halloween? I hope this party gets you excited to host your own Witchin' Good Time party! 

Remember to follow BellaGrey Designs on all your social media channels, you will find the links below this post! Exclusive coupon codes to our shop and free printables throughout the year are shared on our social media. If you like this post, sign up for weekly updates via email. It's FREE! See the sidebar for more information.

Styling/Photography | Jennifer, BellaGrey Designs
Invitation | BellaGrey Designs


This is a sponsored post written by me. BellaGrey Designs has received trade, products and/or payment from Oriental Trading in exchange for promotion. All opinions and text are my own and I only promote products I love.
The links in the post contain affiliate links and I will receive a small commission if you make a purchase after clicking on my link. 
  • Thursday, October 05, 2017

It's Going to be a Witchin' Good Time Halloween Party

Drop in for a spell.........I concocted this fun Witchin' Good Time Halloween Party with the help of, Oriental Trading.  Halloween may traditionally be all about black and orange, but this year I added a fun twist and threw in turquoise! The spider web covered dessert table is frightening fun and oozing with some witchin' good inspiration! 


All to often Halloween is decorated with scary elements, but for this Witchin' party, I wanted to make it fun and kid friendly. My family loves celebrating Halloween but not necessarily in a scary way! 

Here's how to make your party a success. I always like to start with the design of the invitation and work off that as I create and style the party. Ask your guests to dress up in the theme, this helps them really get into the fun of the party. If you host a witches party, this costume is pretty easy to throw together! All you need is a witches hat, a black dress and some fun shoes. 


One of my favorite details is the ribbon cake I made with beautiful black ribbon. If you are interested, I will create a tutorial so you can make your own. I first introduced it to you here


FUN TIPS FOR YOUR WITCH' GOOD TIME PARTY:
  • Shop your home, your friend's and relatives! You will be surprised at what you can find. Almost everything shown is what I had on hand, I borrowed or made. 
  • The witch with cauldron set the tone for my backdrop and I love it! It is incredibly visual and striking!
  • I used the Halloween Silhouette decor kit and embellished my backdrop wall. 
  • I wanted to add some color to the top of the backdrop, which I did when I hung the colored paper lanterns
  • The fun black fringe gave it a spooky feel. 
  • You know how much I LOVE my Cricut! I used my Cricut Explore Air 2 to cut out "Drop in for a spell" and used the same colored paper to cut out flames for the cauldron.
  • Adding decor to match your theme is very important, it ties everything together. The black and turquoise pumpkins are perfect for this party! 
  • You can't have a witches party without a spell book! You can find the tutorial here + FREE printable!  

Are you ready for Halloween? I hope this party gets you excited to host your own Witchin' Good Time party! 

Remember to follow BellaGrey Designs on all your social media channels, you will find the links below this post! Exclusive coupon codes to our shop and free printables throughout the year are shared on our social media. If you like this post, sign up for weekly updates via email. It's FREE! See the sidebar for more information.

Styling/Photography | Jennifer, BellaGrey Designs
Invitation | BellaGrey Designs


This is a sponsored post written by me. BellaGrey Designs has received trade, products and/or payment from Oriental Trading in exchange for promotion. All opinions and text are my own and I only promote products I love.
The links in the post contain affiliate links and I will receive a small commission if you make a purchase after clicking on my link. 
Happy December 1st!!! WOW!! Can you believe it ~ only 24 more days until Christmas. Are you done shopping yet, I'm almost there, only have a few more to get. I wanted to share with you a fun tradition we started in our home a few years back. Elf on the Shelf!! If you haven't heard of this wonderful Christmas Tradition ~ you must learn about it.  Some of you may remember the post I wrote last year ~ click here to view it as it tells you a little bit about this fun tradition. 

{This is what the box looks like}


{This is the cute little Elf inside the box}


There's a book that comes as part of the whole tradition that explains everything to you and the kids ~ at the back of the book you write when your family started the tradition and come up with a name for your Elf!
My daughter named ours Sabrina! Not sure my son really likes the name, but since he was too small when we named her, my daughter got naming rights!!  My kids have really enjoyed this tradition. Sometimes they find her in a bowl of dry cereal, hanging out on the Christmas tree, on the TV, coloring in their coloring books, on top of the cookie jar, in a bowl of candy, sitting on their lunch boxes in the fridge, waiting for them on the vanity in the bathroom next to the toothpaste...........the places are endless and each year my husband and I have a friendly game of "who can find the best hiding place" for Sabrina. The kids have fun trying to find her & my hubby & I have fun too!! 

If you haven't checked it out yet, I hope you will. I hope you enjoyed some of the ideas where to hid "your" Sabrina this year!
I'd love to hear all of your wonderful family stories this year with the Elf on the Shelf tradition. 

Hope you have a Super Great Day!!!


xoxo,
                                                            Photobucket

Our Elf on the Shelf is here

Happy December 1st!!! WOW!! Can you believe it ~ only 24 more days until Christmas. Are you done shopping yet, I'm almost there, only have a few more to get. I wanted to share with you a fun tradition we started in our home a few years back. Elf on the Shelf!! If you haven't heard of this wonderful Christmas Tradition ~ you must learn about it.  Some of you may remember the post I wrote last year ~ click here to view it as it tells you a little bit about this fun tradition. 

{This is what the box looks like}


{This is the cute little Elf inside the box}


There's a book that comes as part of the whole tradition that explains everything to you and the kids ~ at the back of the book you write when your family started the tradition and come up with a name for your Elf!
My daughter named ours Sabrina! Not sure my son really likes the name, but since he was too small when we named her, my daughter got naming rights!!  My kids have really enjoyed this tradition. Sometimes they find her in a bowl of dry cereal, hanging out on the Christmas tree, on the TV, coloring in their coloring books, on top of the cookie jar, in a bowl of candy, sitting on their lunch boxes in the fridge, waiting for them on the vanity in the bathroom next to the toothpaste...........the places are endless and each year my husband and I have a friendly game of "who can find the best hiding place" for Sabrina. The kids have fun trying to find her & my hubby & I have fun too!! 

If you haven't checked it out yet, I hope you will. I hope you enjoyed some of the ideas where to hid "your" Sabrina this year!
I'd love to hear all of your wonderful family stories this year with the Elf on the Shelf tradition. 

Hope you have a Super Great Day!!!


xoxo,
                                                            Photobucket
Good morning to all of you!!! Hope you had a wonderful weekend!! We had a great weekend!! We live here in the Dallas area, both our football team {Dallas Cowboys} and our baseball team {Texas Rangers} won their games yesterday!! We are super excited!! 

Since it's pumpkin season and all, I thought I'd share a great Pumpkin Cookie recipe we made this weekend. 
The kids really liked them. That's always a bonus, since they're for my daughter's class, who's studying pumpkins this week! These cookies are so soft and chewy, and not overwhelming with pumpkin flavor. 

un-frosted cookies


frosted cookies


These are so delicious, you don't even know you're eating a cookie ~ so I ate one for breakfast!! hee hee
 Who says you can't eat cookies for breakfast? I'm not a coffee drinker, but I'm thinking if I was, these would be really yummy with it!! Do you have a pumpkin cookie recipe you'd like to share or do you think you'd be making these?? Would love to hear back from you. 

Hope you have a Super Great Day!!!

xoxo, 
                                                         Photobucket

*Recipe* Old Fashioned Soft Pumpkin Cookies

Good morning to all of you!!! Hope you had a wonderful weekend!! We had a great weekend!! We live here in the Dallas area, both our football team {Dallas Cowboys} and our baseball team {Texas Rangers} won their games yesterday!! We are super excited!! 

Since it's pumpkin season and all, I thought I'd share a great Pumpkin Cookie recipe we made this weekend. 
The kids really liked them. That's always a bonus, since they're for my daughter's class, who's studying pumpkins this week! These cookies are so soft and chewy, and not overwhelming with pumpkin flavor. 

un-frosted cookies


frosted cookies


These are so delicious, you don't even know you're eating a cookie ~ so I ate one for breakfast!! hee hee
 Who says you can't eat cookies for breakfast? I'm not a coffee drinker, but I'm thinking if I was, these would be really yummy with it!! Do you have a pumpkin cookie recipe you'd like to share or do you think you'd be making these?? Would love to hear back from you. 

Hope you have a Super Great Day!!!

xoxo, 
                                                         Photobucket

Christmas Gift Wrap Ideas

I'm super excited to team up with a few of my blogger friends to bring you some great Christmas gift wrap ideas. Welcome to everyone vis...

Meet Jennifer

Meet Jennifer
God made and Jesus saved! This Colorado girl is living in a Texas world. I'm a home decor enthusiast, sharing our home, fashion and entertaining tips.

My Favorites

Recommendations

@Instagram